04/23/2023
by Hernan Mendez
Architectural photography is a specialized field that captures the beauty, design, and functionality of buildings and structures. As a creative art form and a valuable marketing tool, architectural photography serves multiple purposes, such as showcasing properties, promoting architects' work, and inspiring design enthusiasts. In this comprehensive guide, we will delve into the art of architectural photography and share valuable tips for capturing stunning building images that leave a lasting impression.
Understanding Architectural Photography
Architectural photography involves more than merely pointing your camera at a building and clicking the shutter button. It requires a deep understanding of the subject, composition, lighting, and technical skills to bring out the best in every structure.
There are two main types of architectural photography:
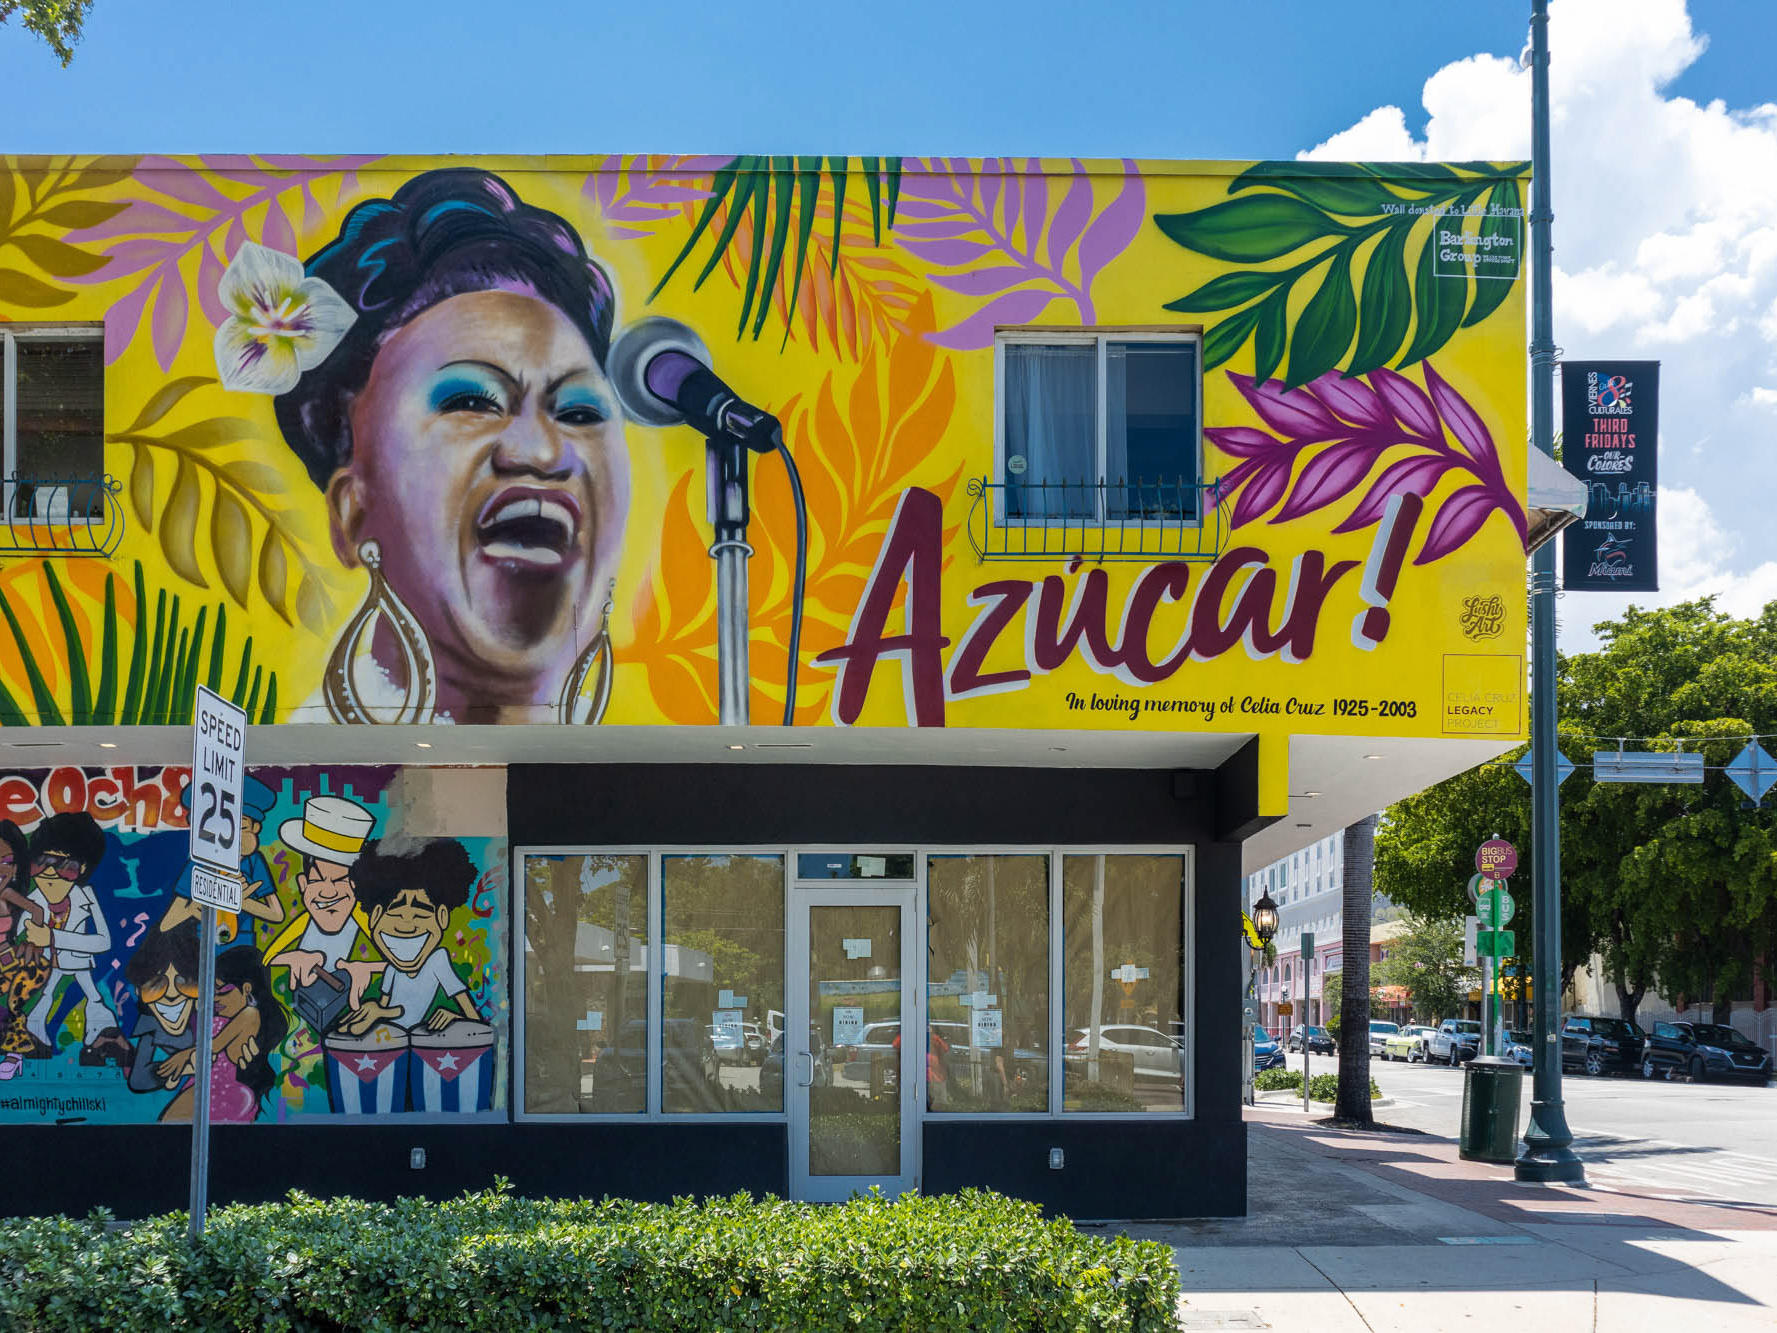
a. Exterior photography: This type captures the exterior of a building or structure, emphasizing its design, shape, and relationship with the surrounding environment.
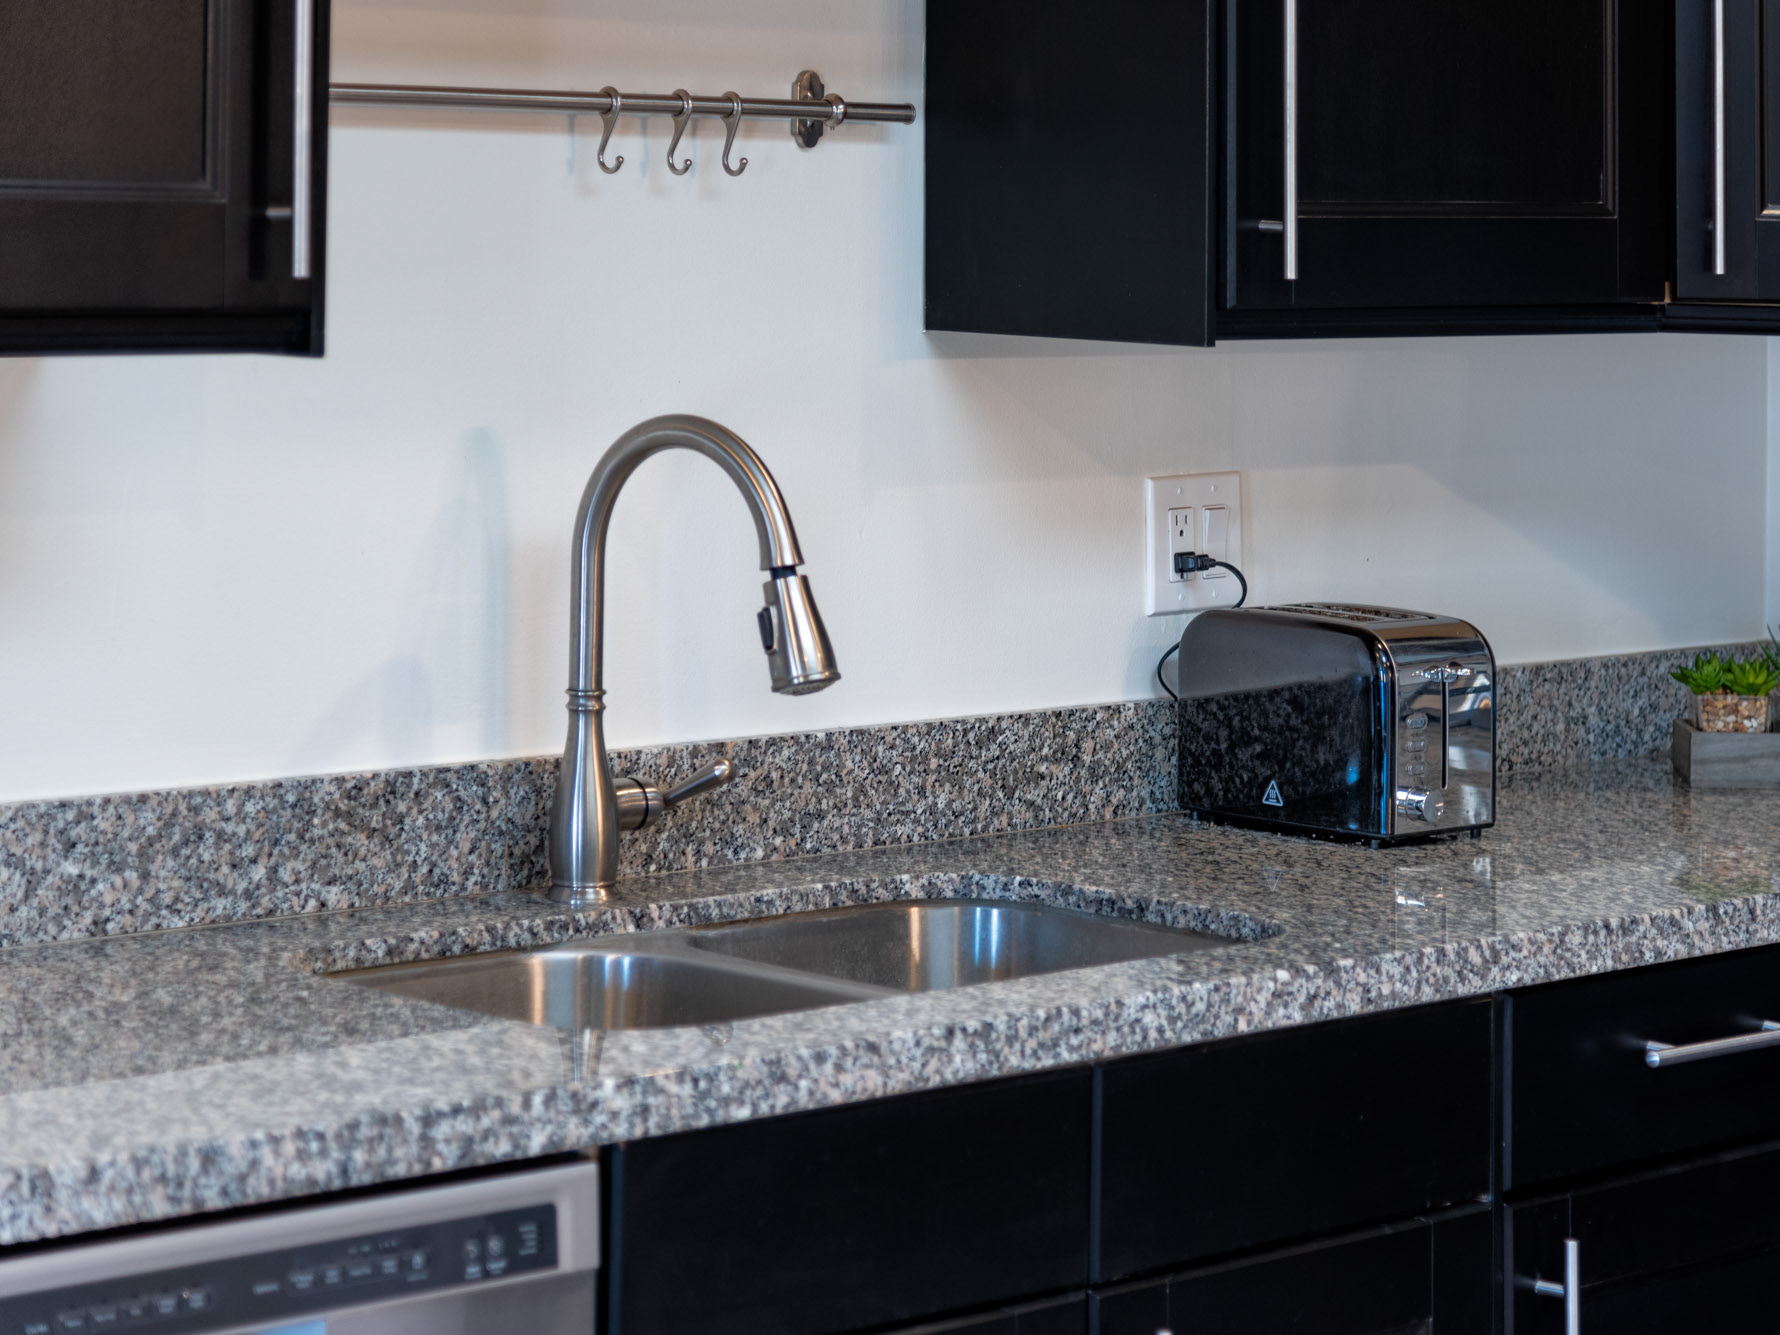
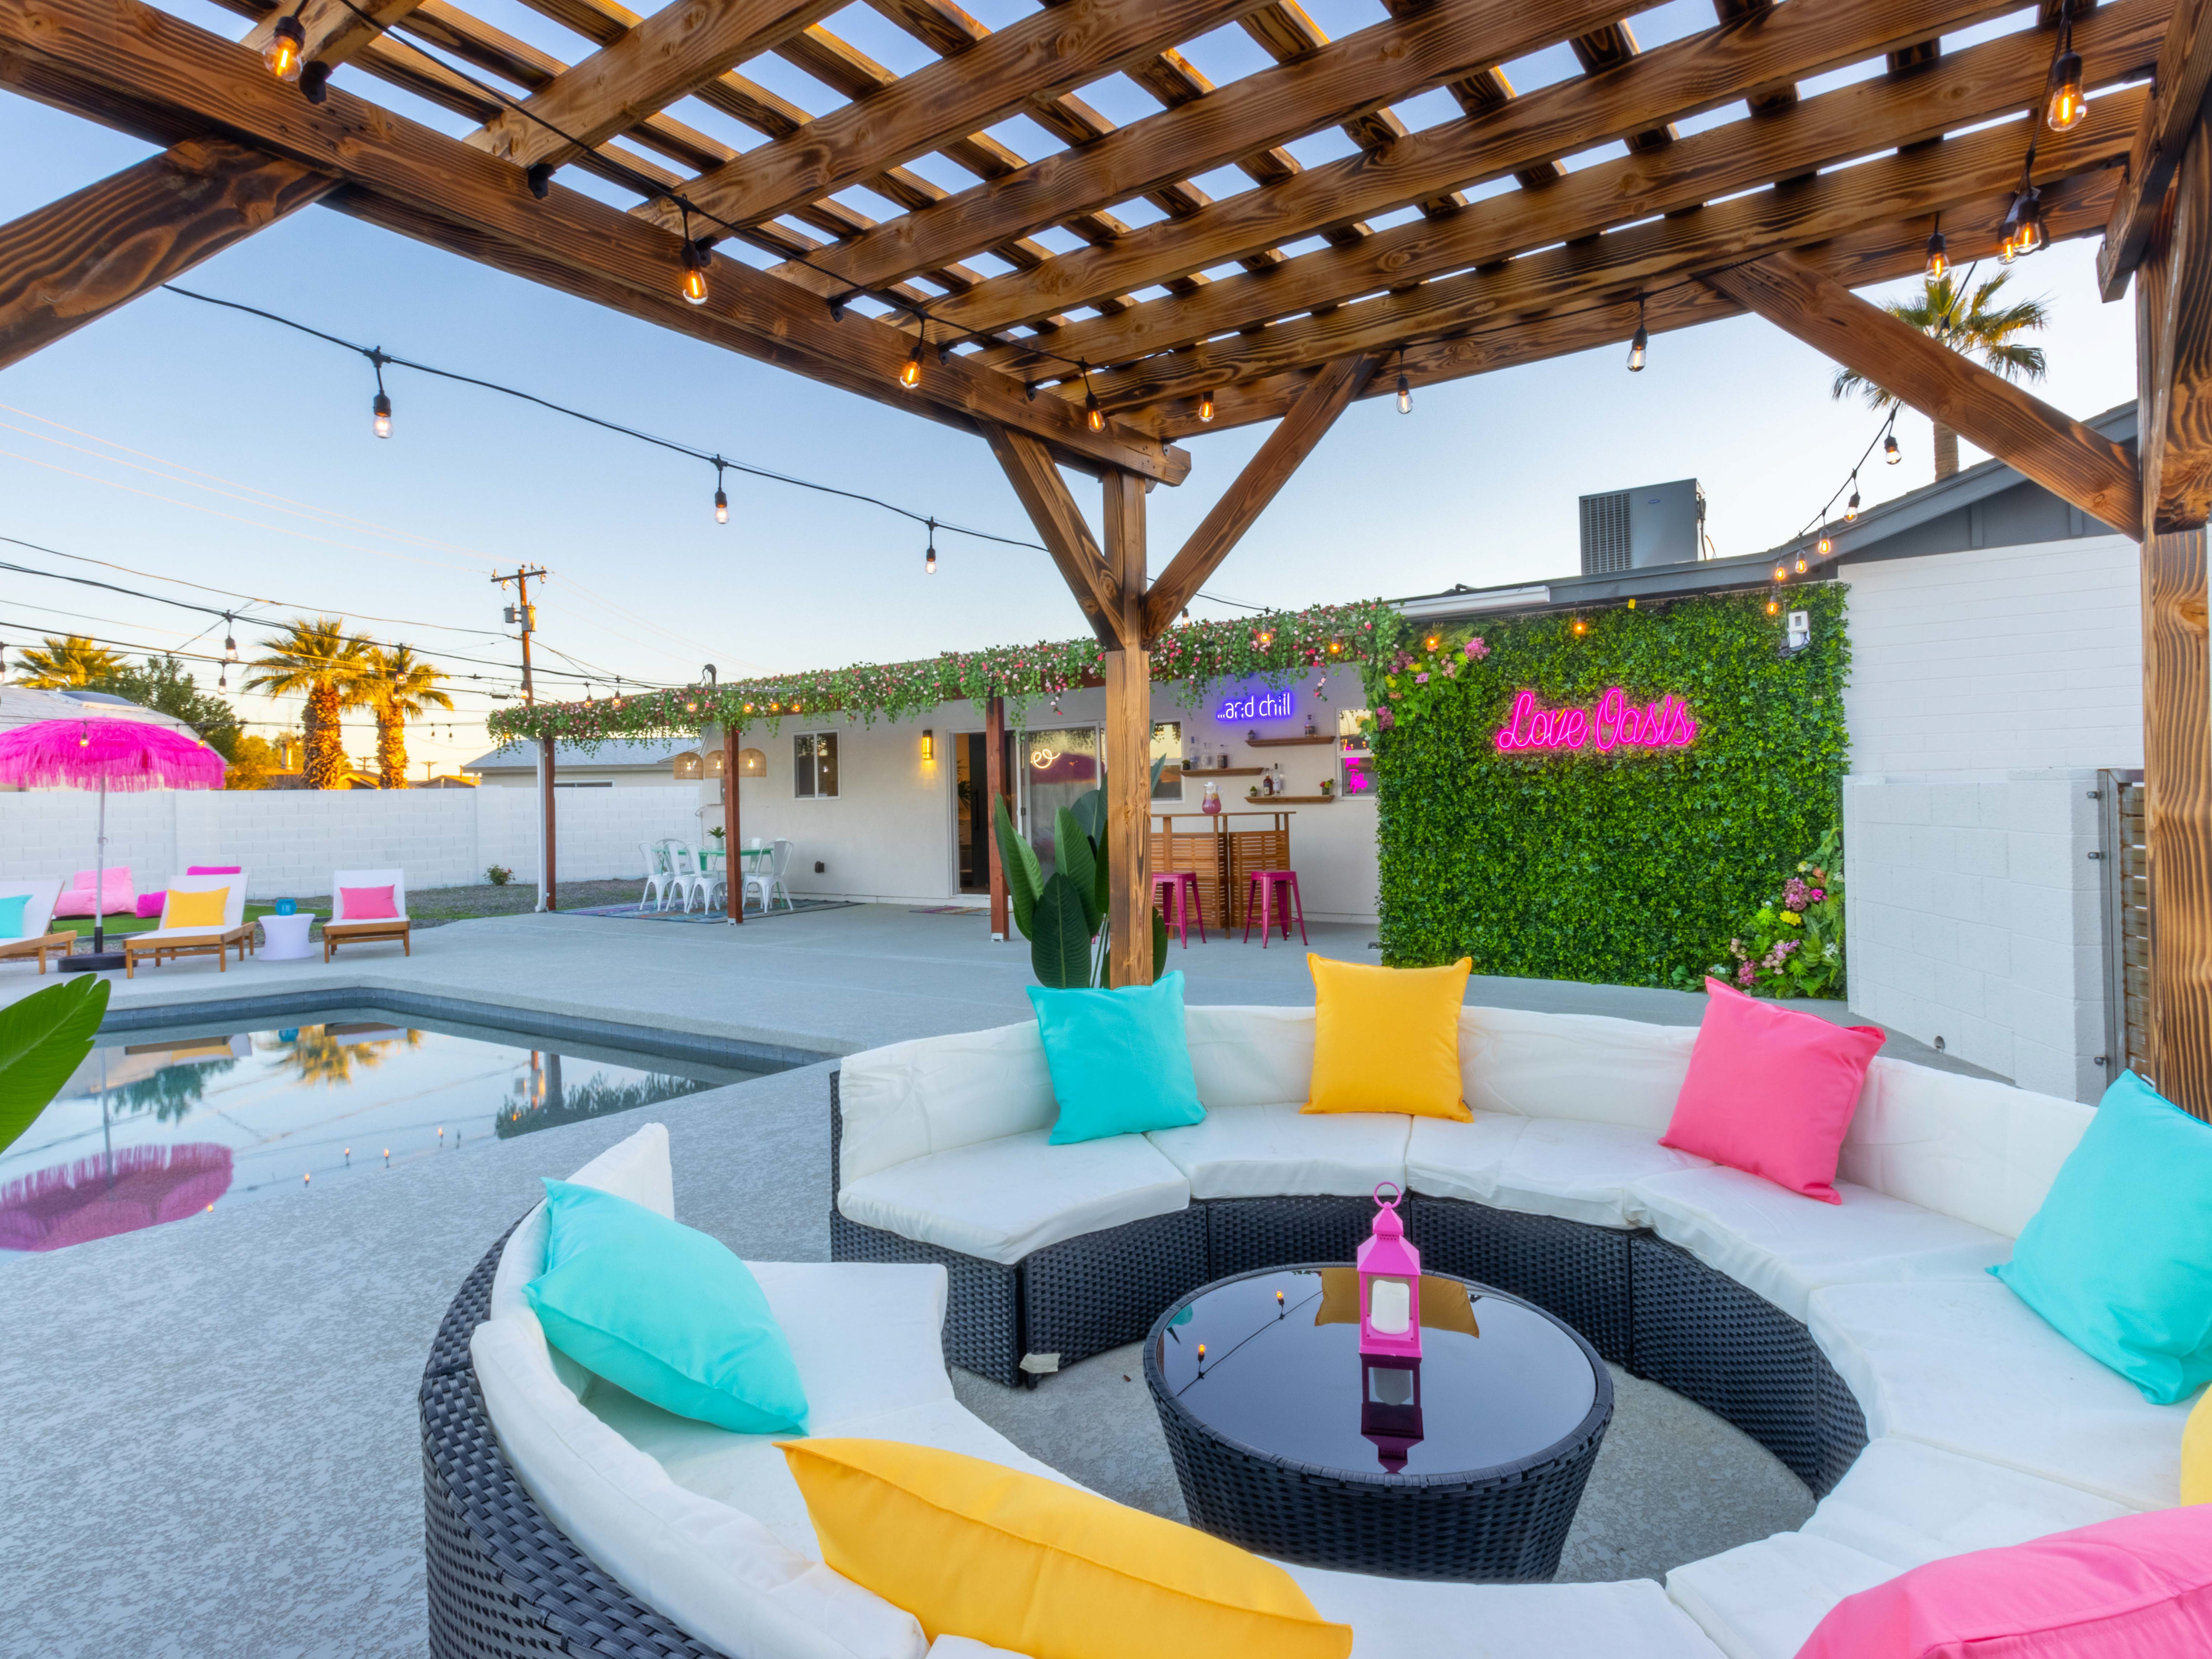
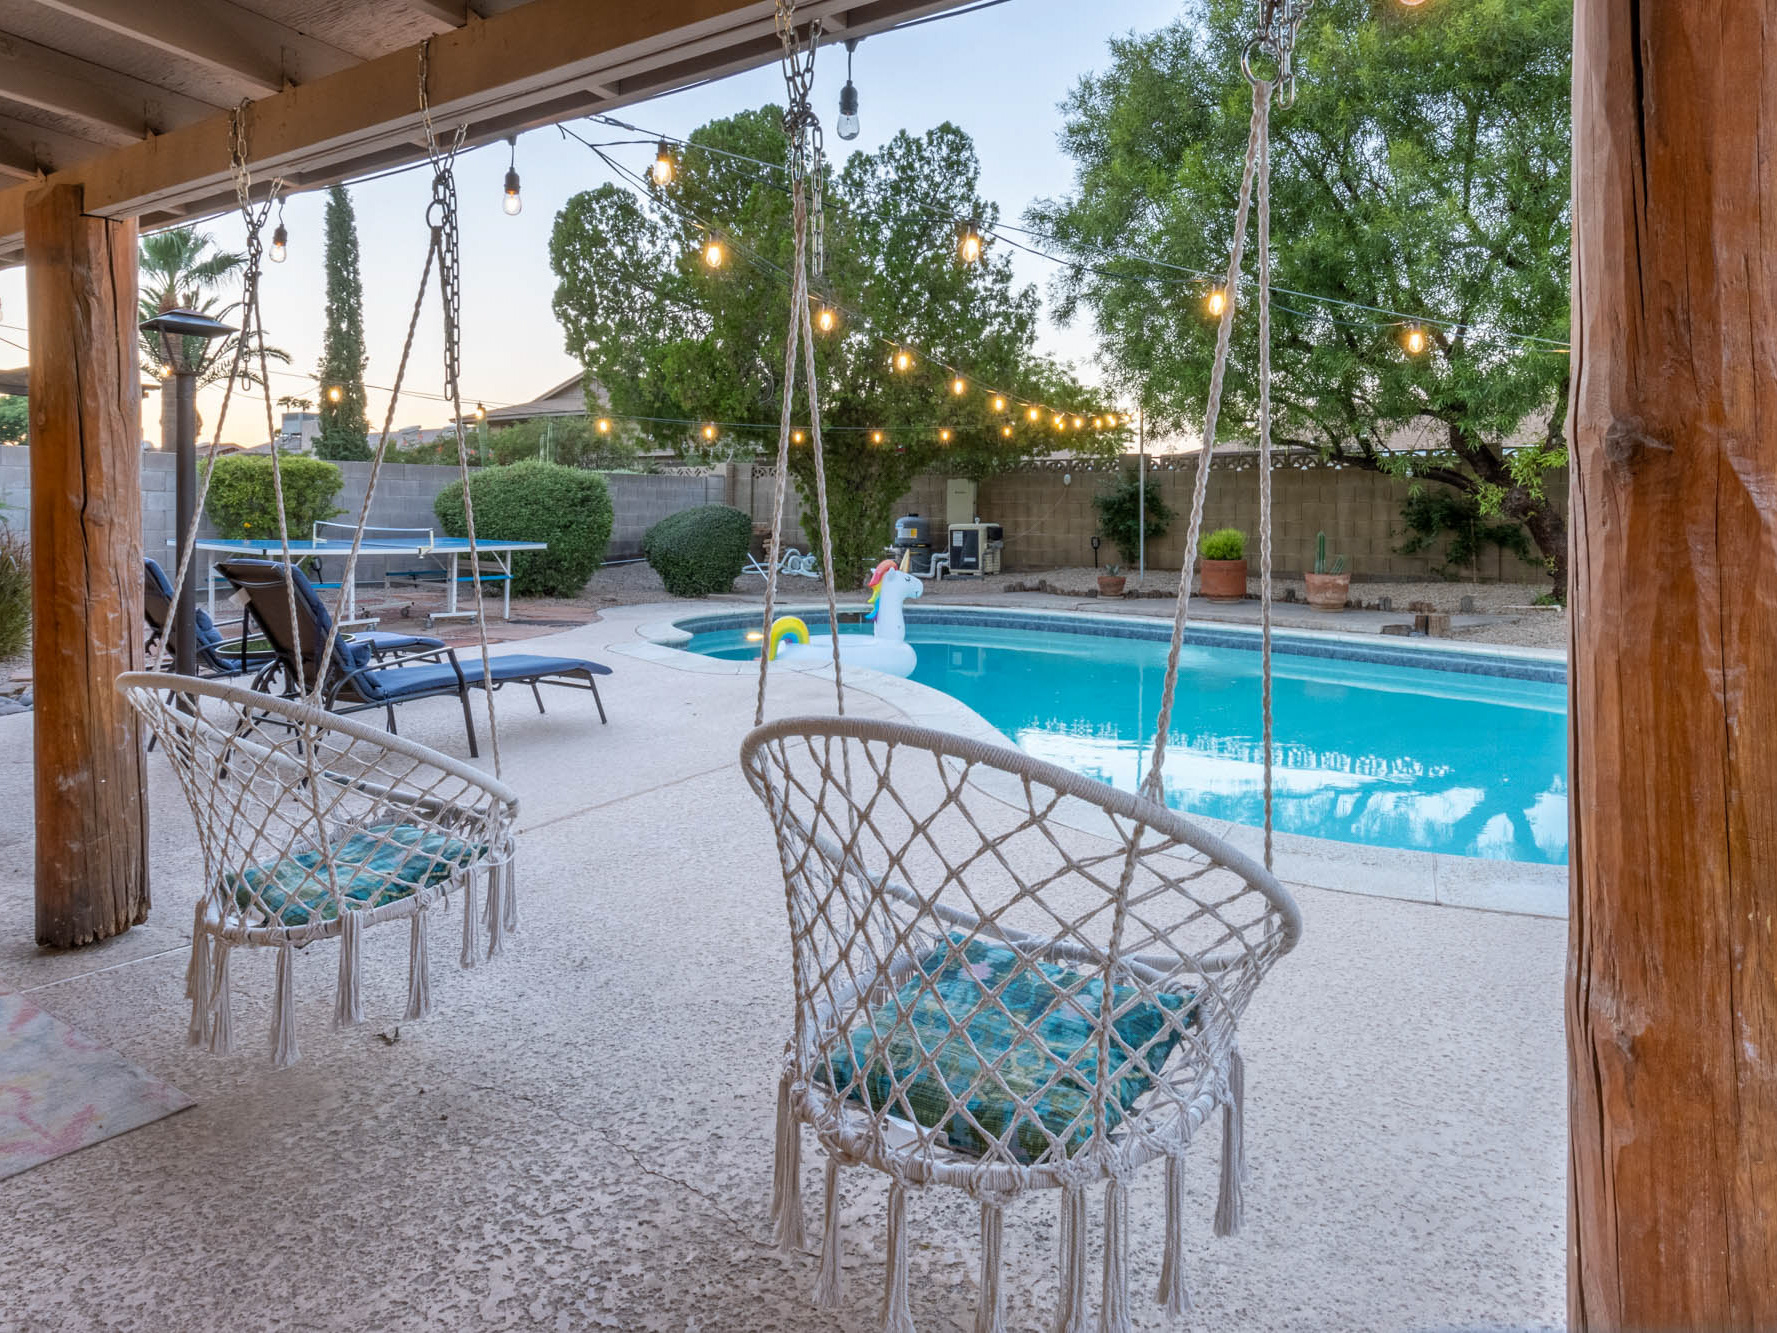
b. Interior photography: This type focuses on the interior spaces of a building, showcasing the design, layout, and atmosphere of the rooms.
Both types require attention to detail, creativity, and technical knowledge to produce visually appealing images that convey the essence of the architecture.
Equipment for Architectural Photography
Investing in the right equipment is essential for capturing high-quality architectural images. Here are some essential tools to consider:
a. Camera: A full-frame or crop sensor DSLR or mirrorless camera with manual controls and high-resolution capabilities is ideal for architectural photography.
b. Lenses: A wide-angle lens (between 14mm and 24mm) is perfect for capturing the full scope of a building, while a tilt-shift lens can help correct perspective distortion. Additionally, a standard zoom lens (24-70mm) offers flexibility for various compositions.
c. Tripod: A sturdy tripod with a ball head or geared head allows for precise camera positioning and stability during long exposures.
d. Remote shutter release: This tool helps minimize camera shake and ensures sharp images during long exposures.
e. Filters: Polarizing and neutral density filters can enhance colors, reduce reflections, and control exposure in challenging lighting conditions.
Scouting and Preparing the Location
Before starting your architectural photography session, take the time to scout the location and familiarize yourself with the building or structure. Consider the following steps:
a. Research the building's history, architect, and design features to better understand and capture its essence.
b. Visit the location at different times of the day to determine the best lighting conditions and identify interesting angles or compositions.
c. Seek permission from property owners or managers if necessary, and inquire about any restrictions or guidelines for photography.
d. Prepare a shot list based on your research and scouting to ensure you capture all essential aspects of the architecture.
Composition Techniques for Architectural Photography
Strong composition is crucial in architectural photography. Keep these tips in mind to create visually appealing images:
a. Use leading lines: Leading lines, such as edges, walls, or roads, can guide the viewer's eye toward the main subject and create a sense of depth.
b. Emphasize symmetry: Many buildings have symmetrical designs that can be highlighted to create a balanced and visually pleasing composition.
c. Experiment with angles: Explore different perspectives, such as low angles or high vantage points, to showcase the building's unique features and convey a sense of scale.
d. Frame your subject: Utilize natural or man-made elements, like trees or doorways, to frame the building and draw attention to the subject.
e. Include context: Incorporate surrounding elements, such as people, vehicles, or landscapes, to provide context and showcase the building's relationship with its environment.
Mastering Lighting in Architectural Photography
Lighting plays a vital role in architectural photography, and understanding how to work with various lighting conditions can significantly impact your images. Consider these lighting tips for architectural photography:
a. Golden hour: The golden hour, which occurs shortly after sunrise and before sunset, offers soft, warm light that enhances the building's colors and textures while creating long, dramatic shadows.
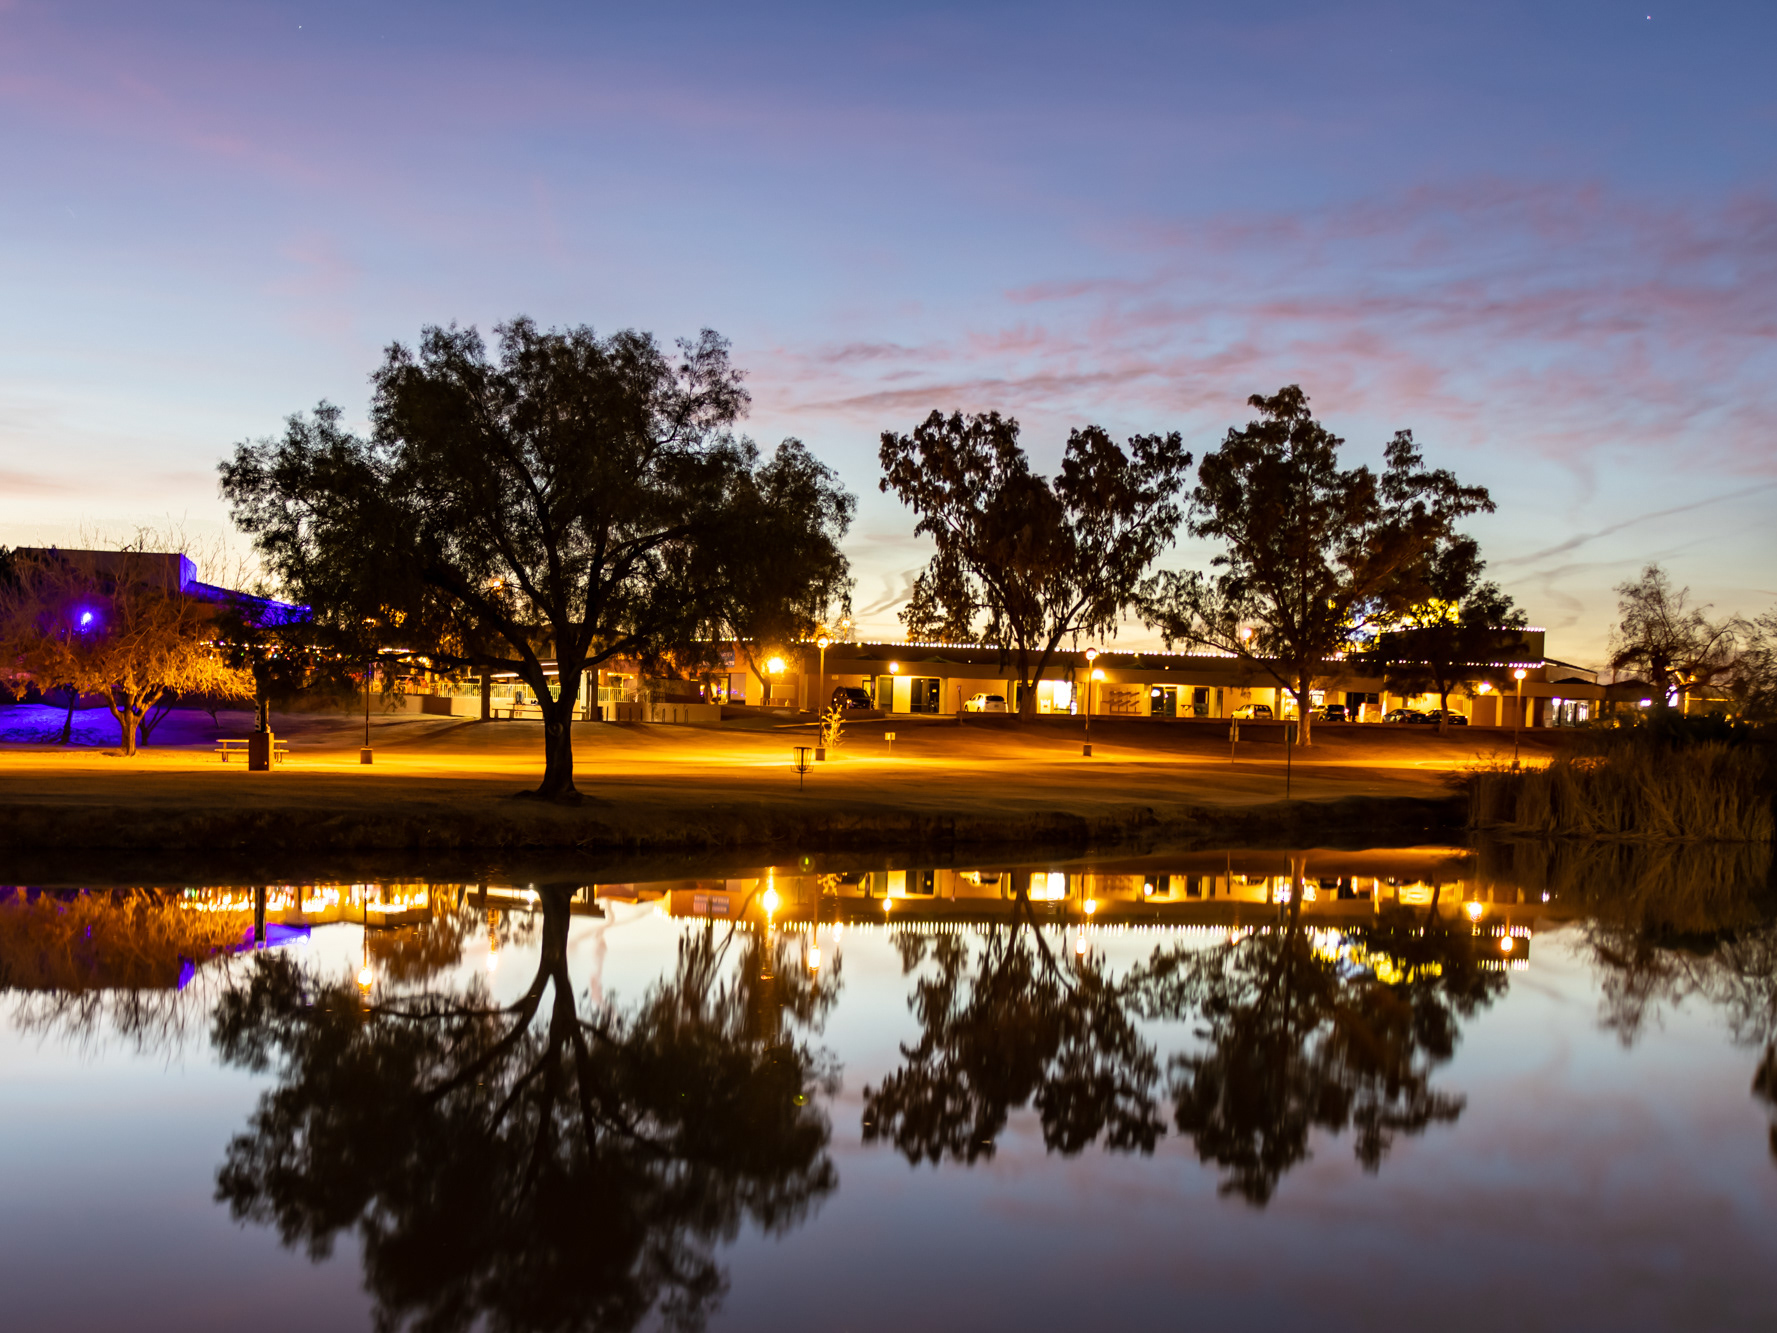
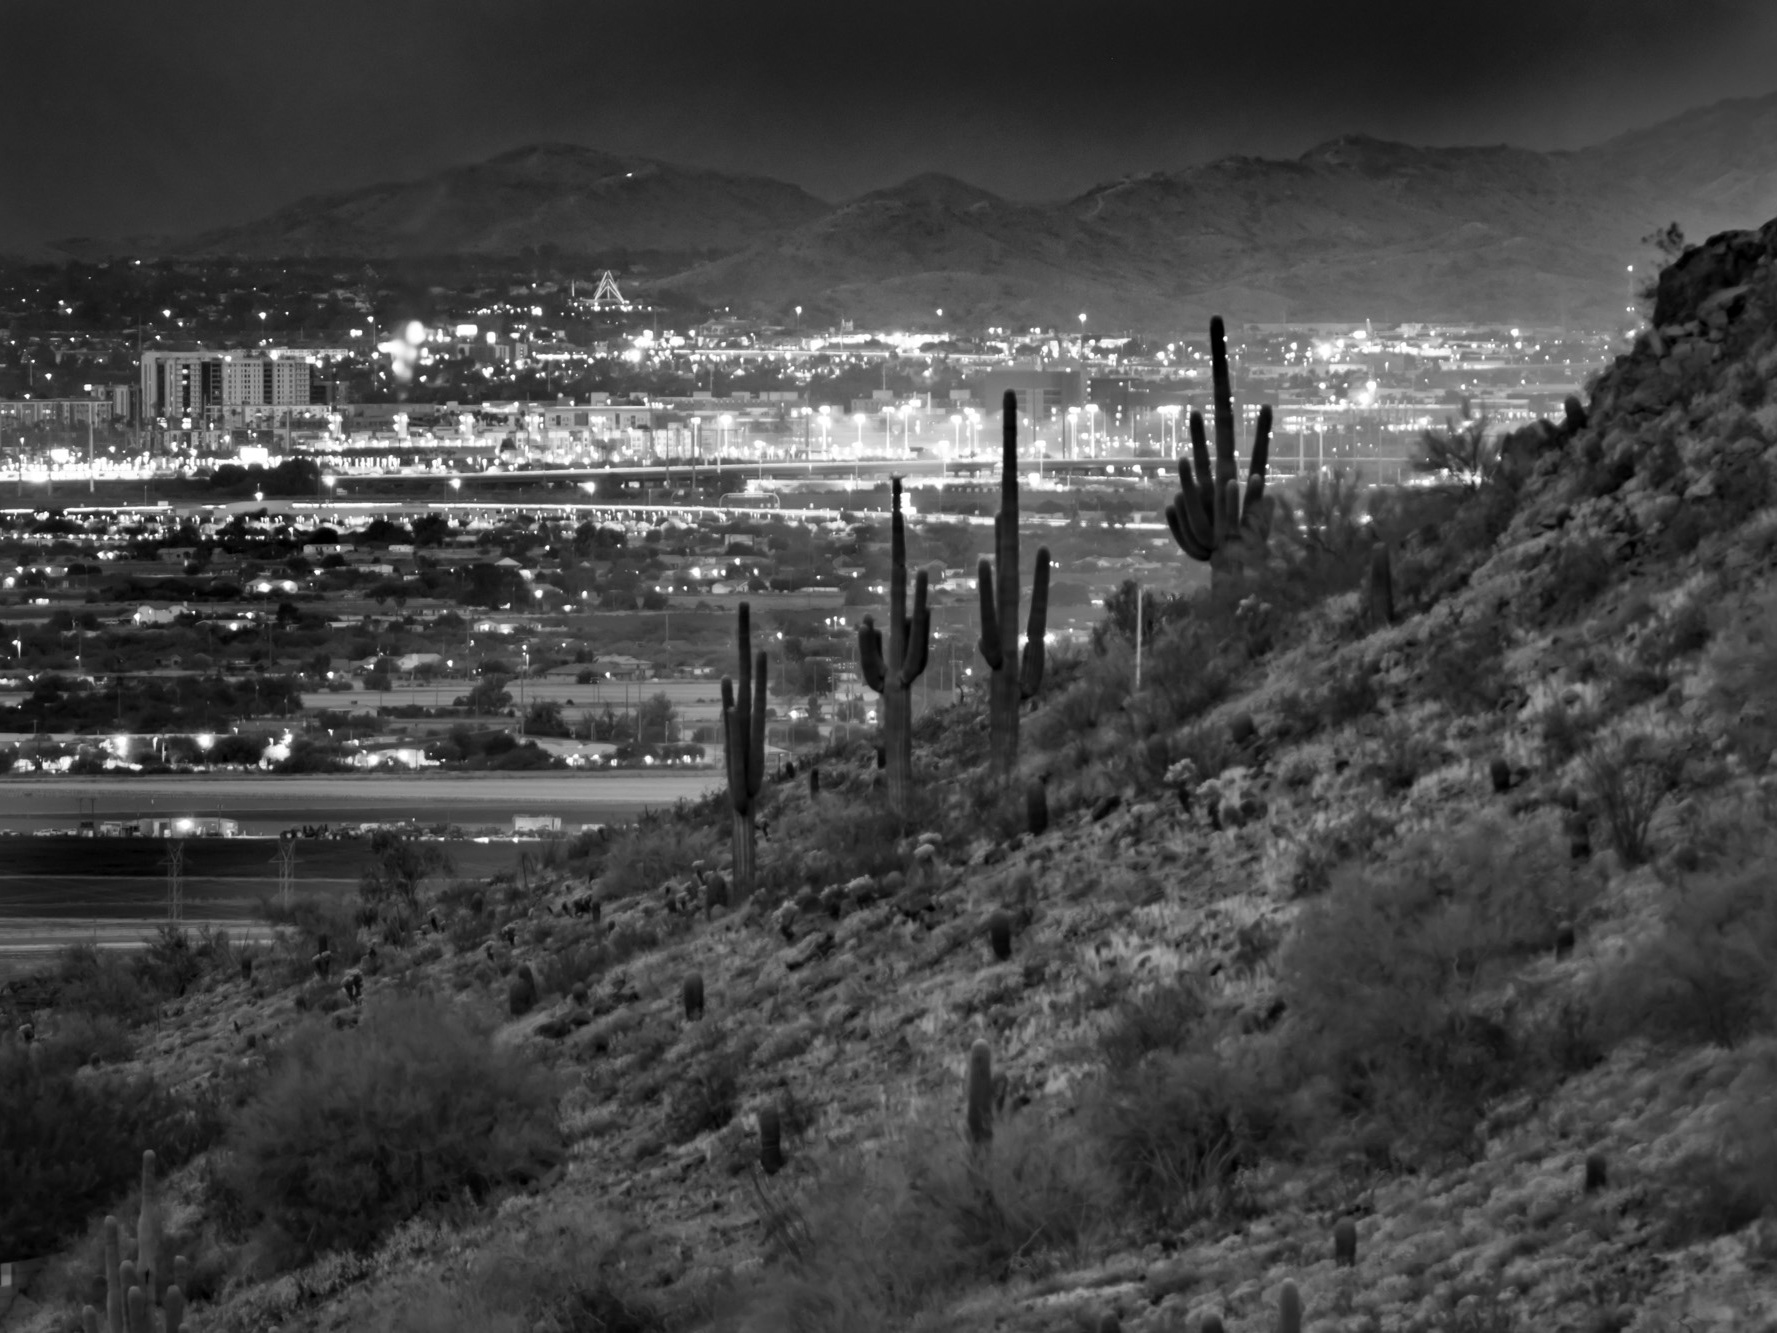
b. Blue hour: The blue hour, which occurs just before sunrise and after sunset, provides a cool, even light that creates a moody, atmospheric feel and emphasizes artificial lighting in the scene.
c. Overcast days: Overcast skies can offer diffused light that reduces harsh shadows and enhances the building's colors and textures, making it ideal for capturing intricate details.
d. Artificial lighting: Interior spaces often rely on artificial lighting, such as lamps or overhead lights, to illuminate the space. Ensure that the lighting complements the room's atmosphere and pay attention to color temperature to maintain a consistent look.
e. Light painting: For nighttime exterior shots, consider using light painting techniques to selectively illuminate specific areas of the building with a flashlight or other light source, creating a unique and dramatic effect.
Dealing with Perspective and Distortion
Architectural photography often involves shooting from close distances or low angles, which can lead to perspective distortion, such as converging vertical lines. To correct distortion, consider these techniques:
a. Use a tilt-shift lens: A tilt-shift lens allows you to adjust the lens's angle relative to the camera sensor, effectively correcting perspective distortion and maintaining parallel lines.
b. Shoot from a higher vantage point: By shooting from an elevated position, you can minimize perspective distortion and maintain straight lines in your composition.
c. Post-processing: Software programs such as Adobe Lightroom or Photoshop offer tools for correcting perspective distortion during the editing process.
Post-Processing Techniques for Architectural Photography
Post-processing is an essential step in architectural photography, allowing you to refine your images and emphasize the building's features. Some popular post-processing techniques include:
a. Perspective correction: As mentioned earlier, use editing software to correct perspective distortion and maintain straight lines in your images.
b. Color correction: Adjust white balance, saturation, and vibrance to achieve accurate and consistent colors throughout your images.
c. Exposure and contrast: Use tools like the histogram, curves, and levels to balance the exposure and enhance the contrast in your images, bringing out the building's details and textures.
d. Noise reduction and sharpening: Apply noise reduction and sharpening techniques to enhance image quality and highlight architectural details.
e. HDR and exposure blending: For scenes with high dynamic range, consider using HDR techniques or exposure blending to maintain details in both highlights and shadows.
Conclusion
Mastering the art of architectural photography requires a balance of technical skill, creativity, and attention to detail. By understanding the subject, investing in the right equipment, and applying these tips for composition, lighting, and post-processing, you can capture stunning building images that showcase the beauty and essence of architecture. As you continue to hone your craft, your expertise as an architectural photographer will become increasingly evident, attracting clients and inspiring fellow photographers in the process.
Cover art sketch: Cementerio de Mar del Plata, Horacio Baliero